


Wardrobe Design
Kids Wardrobe Design Ideas: Safe & Functional
Kids wardrobe design ideas that are safe, fun and functional: rounded edges, non-toxic finishes, and layouts that grow with your child.
September 25, 2026
The wardrobe installation process has five stages: final measurement, 3D design sign-off, factory production, delivery, and on-site fitting. According to Bhumim’s bedroom wardrobe guide, the whole journey takes about 3 to 5 weeks, and fitting itself takes only 1 to 3 days. Most delays start before the installers arrive.
Below, a timeline table, a site checklist, delivery and handover checks, and a list of delay traps show what to prepare at each stage.
Most people picture installation day and forget the weeks before it. Production takes far longer than fitting, so the early weeks decide your calendar.
Stage | Typical time | What happens | Your part |
Final measurement and 3D design | 3 to 7 days | Walls are measured and the 3D preview is prepared | Approve the layout, finish and hardware |
Factory production | 10 to 18 days | Panels are cut, finished and packed | Finish painting, flooring and electrical points |
Delivery | A day or two | Coded components arrive and are checked | Be present, and keep the access path clear |
On-site installation | 1 to 3 days | The unit is fixed, levelled and fitted out | Keep the room free and the wall clear |
Handover and follow-up | First weeks of use | Doors, drawers and lights are tested | Test everything before you sign off |
According to Bhumim’s bedroom wardrobe guide, design approval to installation typically takes 3 to 5 weeks. A complex unit or a room that is not ready can add days.
For design choices that come before this process, see our bedroom wardrobe design guide.
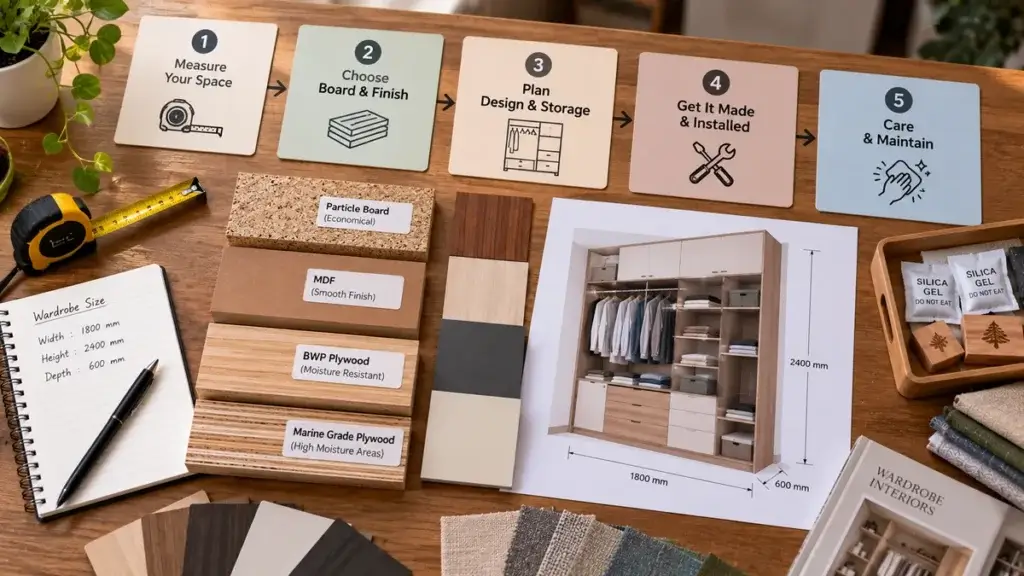
This stage decides whether the wardrobe fits on installation day, so do it carefully and do not rush the sign-off.
Bhumim’s bedroom wardrobe guide advises measuring the floor-to-ceiling height at three points, because Indian ceilings are rarely level. It also notes that floor-to-ceiling units need more precise installation than standard-height ones.
A wardrobe is built to a few millimetres, so small errors at this stage show up later as uneven gaps or doors that rub. Fixing them on paper costs nothing, and fixing them after production costs days. That is why a careful measurement is the cheapest part of the whole project.
Finish your decisions before sign-off. Changes made after production starts usually mean re-making panels, which costs days.
If you are still choosing a door style, our hinged vs sliding wardrobe guide compares the two.
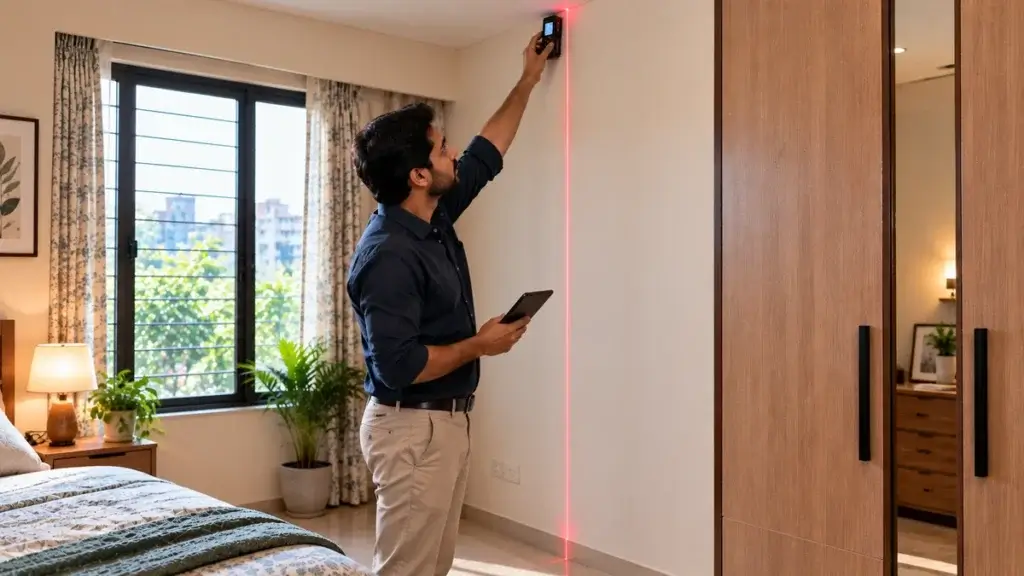
For expert design consultation, send us your details and we’ll schedule a call
Use this checklist while production is under way, so the room is ready when the truck arrives.
Think about where the wardrobe parts will wait before they are fitted. Long panels need a dry, clear corner, ideally in the room itself or a nearby one, and they should not stand against a damp wall. A small amount of planning here keeps finishes safe and keeps the installers working without interruption.
We think site readiness is the easiest thing for you to control and the most common cause of a delay. Is your room ready today?
Bhumim’s hill-area logistics guide explains that components carry codes linking them to the design drawing and packing list. The installation team cross-checks each piece as it comes off the truck.
You can help. Being present is the easiest moment to catch a shortage or a damaged panel.
For how deliveries reach hill towns, see our hill-area installation logistics guide, written for kitchens but the same transit logic applies to wardrobes.
Installation usually runs in a set order. A simple unit finishes in about a day, and a complex one takes up to 3 days.
On the other hand, a very uneven wall or a ceiling out of level can add time, because the frame needs shimming to sit straight.
Take your time at handover, because a few minutes of careful testing now can save you several repeat visits later.
Keep your phone handy during the handover walk-through. Photos of any scratch, gap or loose fitting give you a clear record. They also help the team fix the issue quickly.
Which one will you test first?
If your wardrobe has glass or mirror doors, check the track as well, and see our wardrobe door types guide for what each door needs.
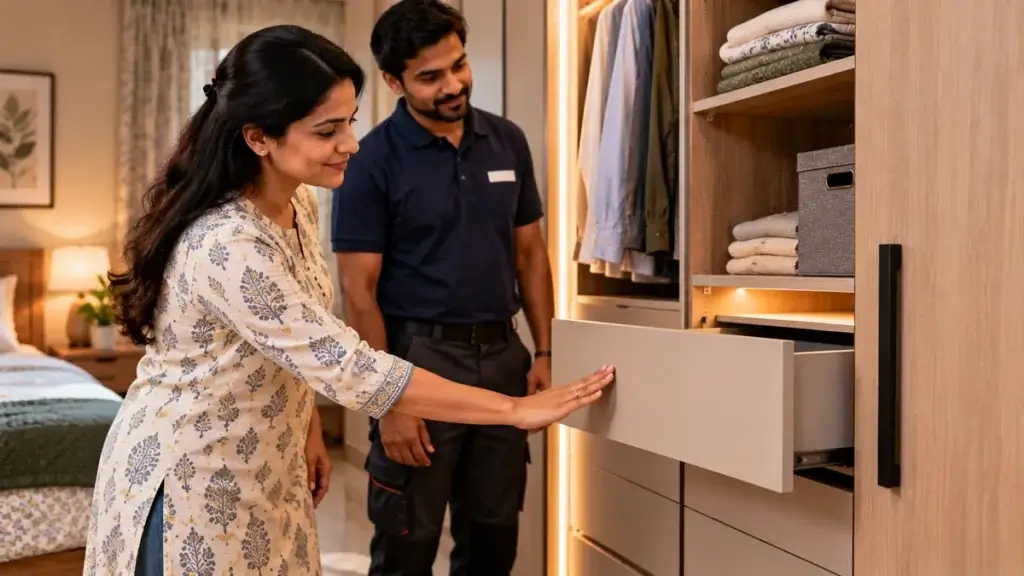
Doors and drawers can need small adjustments in the first weeks as the unit settles. Ask before you sign off whether a follow-up visit is included, and what it covers.
Keep a short list of anything you notice, and share it in one go.
Bhumim’s bedroom guide warns that a sealed wardrobe can smell musty within months in Dehradun’s July to September rains. It recommends small ventilation gaps in the back panel, with cedar blocks or moisture absorbers inside.
We think a calm first month is the real mark of a good installation. Give the wardrobe a fair trial, and speak up early about anything that feels wrong.
Most of these are questions you can settle before production starts. Ask your manufacturer for a stage-by-stage plan, and check it against your own calendar.
Planning a wardrobe and want a realistic timeline? Share your room size and the date you need it ready, and we will give you a stage-by-stage plan with a free 3D design. Call or WhatsApp 08044630777 or fill in your details at bhumim.com.
You can also find Bhumim on Google Maps and visit the Dehradun showroom to talk through your timeline in person.
On-site fitting takes about 1 to 3 days, depending on how complex the unit is and the state of the room. The full journey from design approval to installation typically runs 3 to 5 weeks, according to Bhumim’s bedroom wardrobe guide, because factory production takes 10 to 18 days of that time.
It depends on the unit, the wall and the crew. A simple, straight unit can be done in about a day, while a floor-to-ceiling or sliding unit with lights takes longer. Ask your installer for a day estimate in writing, and confirm what it assumes about the room being ready.
Finish painting, flooring and electrical points first, clear the wall and the floor in front of it, and confirm lift access and parking. We also suggest emptying the old wardrobe and packing belongings a few days ahead, so installers can work without delay.
Agree the measurements, the 3D design and the finish before production starts, and keep one point of contact on site. Check each stage against the drawing, and note any difference in writing straight away. Ask your manufacturer for a stage-by-stage plan, so you know what happens on each day.
Open and close every door, slide each drawer fully, test the lights, and look at faces and edges in daylight for scratches. Check that handles, mirrors and rods are tight, and that the gaps are even. Do not sign off until you are comfortable, and note any small fixes in writing.
A room that is not ready is the most common cause, such as unfinished painting, flooring or electrical points. Design changes after sign-off, blocked access and rough measurements also cause delays. In hill areas like Dehradun and Rishikesh, monsoon rain can slow delivery by a few days.
It helps, at least at delivery. Bhumim’s hill-area logistics guide says being present when components are checked against the packing list is the easiest moment to catch a shortage or damage. On installation day, be available for decisions, and do the handover check with the installer.
Small adjustments to doors and drawers can be needed in the first weeks as the unit settles. Ask before signing off whether a follow-up visit is included and what it covers, and keep your notes in one list. Large problems should be raised at handover, not later.
Call or WhatsApp Bhumim at 08044630777, or fill in your details at bhumim.com/contact. Share your room size and the date you need it ready, and the team shows the layout in a free 3D design, typically within 3 to 7 days, in line with the design stage described in our bedroom wardrobe guide. You can then compare options before anything is made.
A smooth wardrobe installation is mostly decided before the installers arrive. Measure carefully, prepare the room, check the delivery and test everything at handover.
If you are planning a wardrobe in Dehradun, Rishikesh or Haridwar, call or WhatsApp Bhumim at 08044630777 or reach out through bhumim.com/contact for a free 3D design and a stage-by-stage timeline for your room.
Published by: Bhumim India Private Limited-Modular Kitchen Manufacturer & Installer, Dehradun
GST: 05AAOCB1784F1ZM | ISO 9001:2015 Certified
Service Areas: Dehradun · Haridwar · Rishikesh · Roorkee · Noida · Ghaziabad
Contact: 08044630777 | hello@bhumim.com
Note: This article is written from Bhumim’s on-ground manufacturing and installation experience. All material recommendations are based on what we use in real kitchens across our service areas.
Kids wardrobe design ideas that are safe, fun and functional: rounded edges, non-toxic finishes, and layouts that grow with your child.
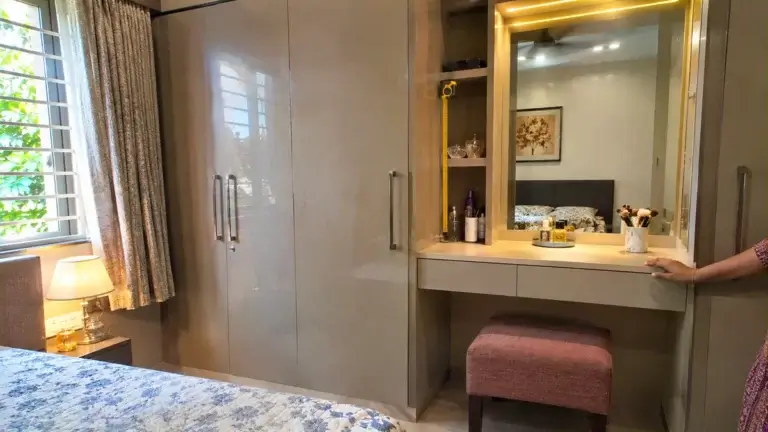
Wardrobe with dressing table design for Indian bedrooms: five layouts, bay size, mirror and light tips, and cost ranges for each option.

Sliding wardrobe laminate design guide: pattern types, two-colour panel splits, laminate grade and a catalogue checklist for Indian homes.